How To Build an ADU
19 min read
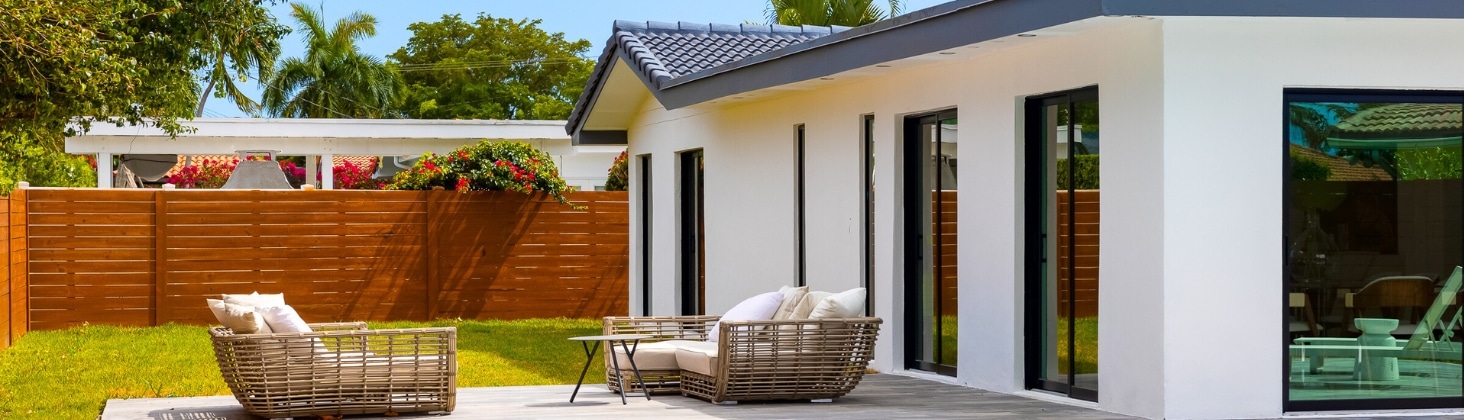
Knowing the steps to build an ADU or convert a garage ensures your project fits your needs.
Introduction
Creating an Accessory Dwelling Unit (ADU) can really boost your home’s value and help with housing costs. Starting the journey to build an ADU takes some planning. Knowing the steps helps you make smart choices and get your project done the way you want, fitting both your budget and how you live.
ADU Development Timeline
Before diving into the detailed phases of building an ADU, it’s essential to understand the overall timeline.
Here’s a quick look at how long it takes to build an ADU
- Design Phase
This first part, lasting 1-2 months, is when you plan out what your ADU will look like.
- Permitting Phase
Next, for about 3-4 months, you need to get the right permits, which means following local rules.
- Construction Phase
The building part can take 4-6 months, depending on the type of ADU and your yard.
Usually, the whole process takes about 8 to 12 months.
Phase 1: Research
Starting your ADU project begins with doing your homework. This step is key to know what you can do, what you want, and how it fits your budget.
- Budgeting
Figure out how much you can spend, including extra costs.
- Property Check
Look at your property’s size and shape to pick the best ADU type.
- Local Rules
Learn about your area’s rules that will guide your ADU project.
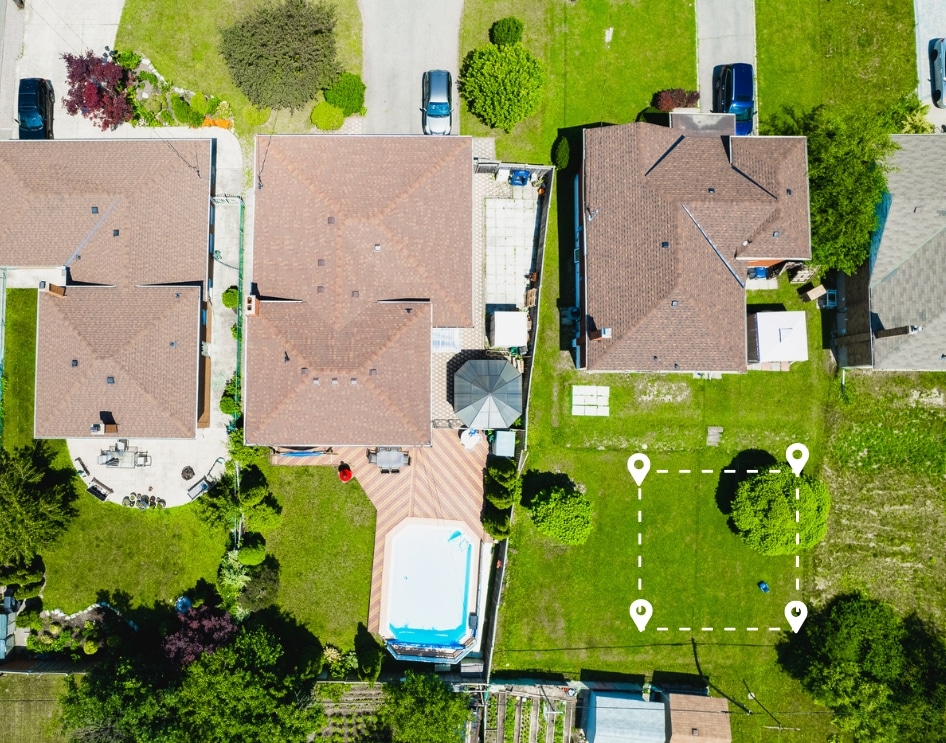
Phase 2: Feasibility Study
The feasibility study represents a pivotal moment in the ADU development process. This important step checks if your property can handle an ADU. It looks at many things like laws, the land itself, and money stuff.
- Look at zoning rules
Find out what you’re allowed to build.
- Check utilities
See where things like water and electricity are to avoid extra costs.
- Survey your property
Get a detailed look at your land to help with planning.
- Make sure you’re following the codes
Check that your ADU plan meets all safety and building standards.
- Talk to local planners
This helps spot any issues early on.
- Plan your site
Make a basic plan that fits your property and follows the rules.
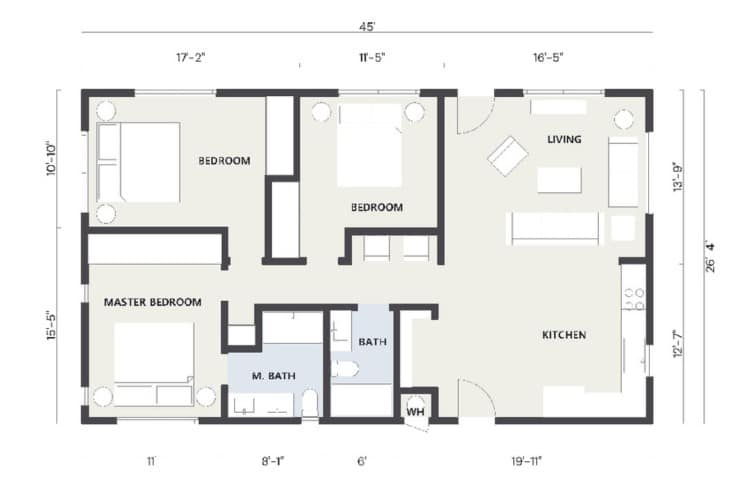
Phase 3: Design and Planning
Now, you start to bring your ADU to life. You’ll decide on how it looks, its layout, and what materials to use. It’s a team effort to make sure it’s just right and fits your needs. The choice of ADU design is influenced by several factors, including your property’s characteristics, budget, and specific needs.
- Detached ADU
Stands alone, offering privacy. Costs more but gives more design freedom.
- Garage Conversion ADU
Changes your garage into living space. Saves money but has some limits.
Adds on to your home. Less disruptive and cost-effective.
- JADU
Small space inside your home. Good for small spots.
When planning your design, keep these in mind
- Matching your house
Does the ADU look like your main house or different?
- Being green
Use materials that are good for the planet and your wallet.
- Choosing strong materials
Pick things that last long and are easy to look after.
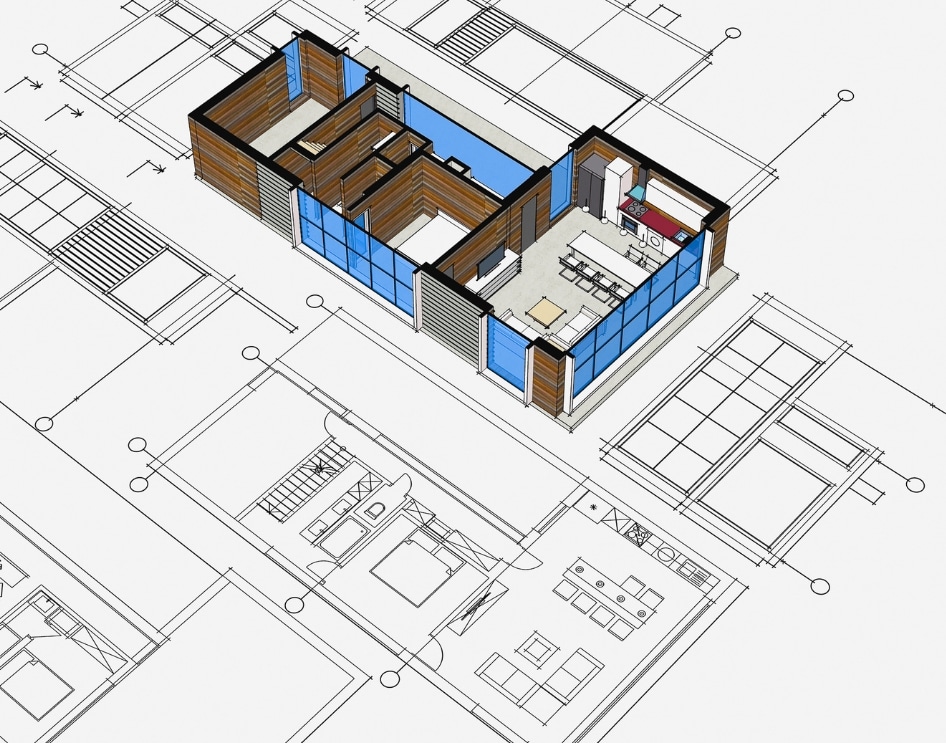
Understanding the Impact of Your Choices
The design and planning phase also entails a clear understanding of how different design options impact costs, regulatory compliance, and the project timeline.
| Design Option | Estimated Cost Range | Timeline Implications | Regulatory Considerations | Maintenance and Upkeep | Accessibility and Flexibility |
|---|---|---|---|---|---|
| Detached ADU | $$$ | Longer | High compliance needs | Moderate to High | High flexibility |
| Attached ADU | $$$ | Moderate to Long | High compliance needs due to integration with the primary residence | Moderate to High | Moderate flexibility due to shared infrastructure with the primary home |
| Room Addition | $$ | Moderate | Varies by project | Moderate | Moderate flexibility |
| Garage Conversion | $ | Shortest | Lower compliance needs | Low | Limited space |
| JADU | $ | Shorter | Moderate compliance needs | Low to Moderate | Limited by the existing structure |
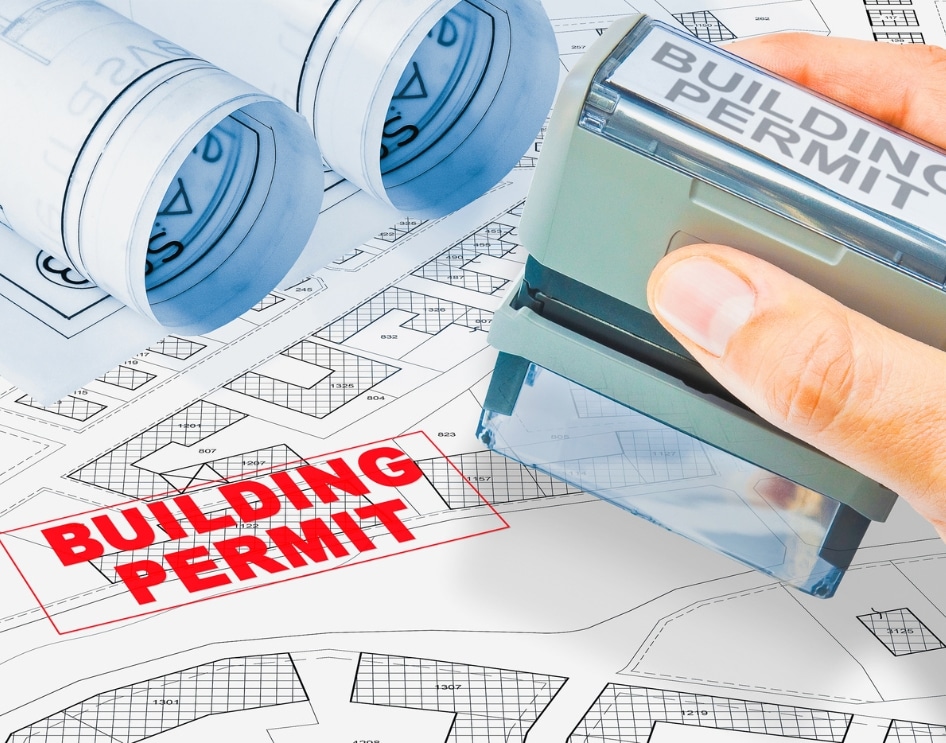
Phase 4: Permitting
Getting permits is a big deal in the ADU construction process. You need to make sure everything is legal and safe. This step can be tricky and take time, but it’s very important to do it right.
- Learn the rules
Know what your local area requires for an ADU.
- Get your papers ready
Have all your plans and documents prepared.
- Apply for permits
Hand in your application to the local office.
- Adjust if needed
You might need to change your plans based on feedback.
- Get your permit
Once everything’s approved, you can start building.
Want to make the permit process easier? Follow these steps
- Talk Early
Chat with local officials soon to know what you need to do and fix any problems before they get big.
- Use Experts
Get help from architects or planners who know the rules well. They can make getting permits quicker and easier.
- Be Flexible
Sometimes, you might need to change your plans a little based on advice from officials. This can help you get approved faster.
- One-Stop Solution
Consider a one-stop shop, ensuring the entire permitting process is effortlessly managed on your behalf.
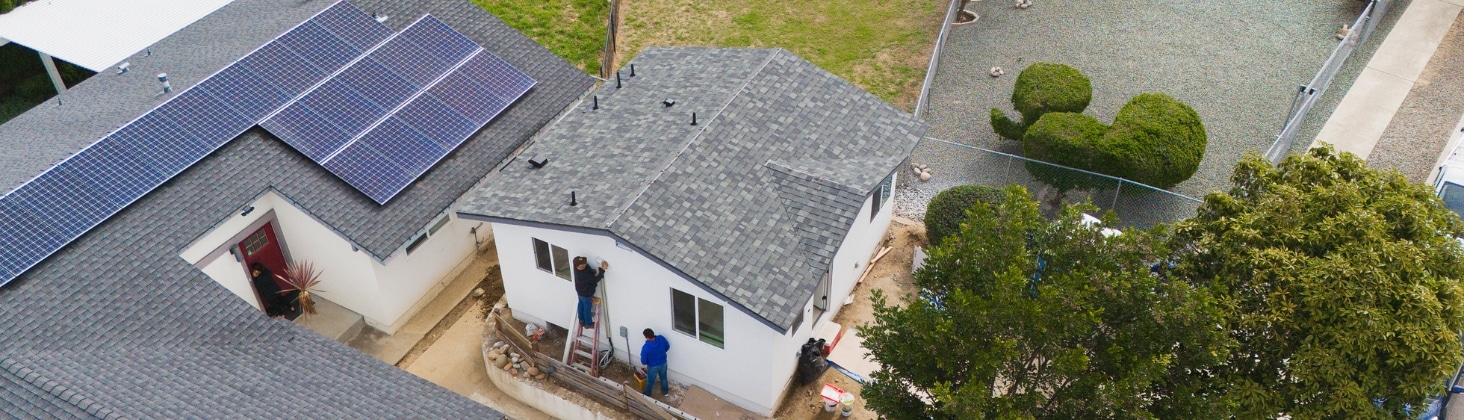
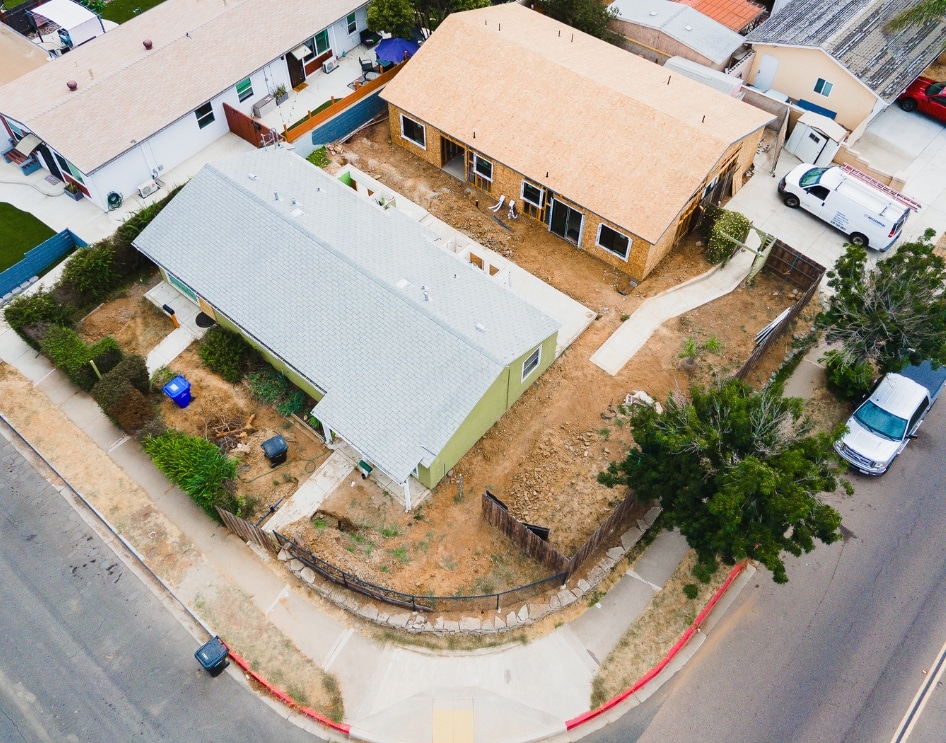
Phase 5: Building It
The ADU building phase is when your ADU plan becomes a real building. This step has many parts, all important for making sure your ADU is strong and works well. Knowing what each part involves helps keep things moving smoothly.
Here are the key steps to build your ADU
- Get the Land Ready
Clear the land, level it, and maybe take down old buildings to prepare for your ADU.
- Lay the Foundation
Build a strong base for your ADU, whether right on the ground, on a raised platform, or over a basement.
- Build the Frame
Build the structure of your ADU, including the walls, floors, and roof.
- Add the Roof and Outside Walls
Put on the roof and outer walls to keep water out and make it look good.
- Set Up Water, Power, and Air
Install the plumbing, wiring, and heating or cooling. These need to be safe and up to code.
- Insulate and Drywall
Insulate for warmth and cover walls inside with drywall.
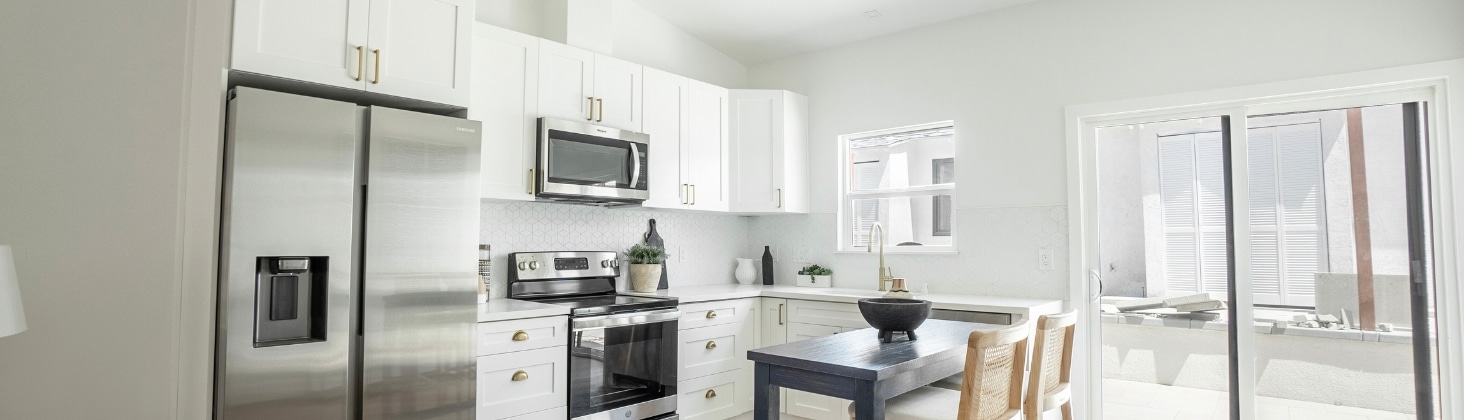
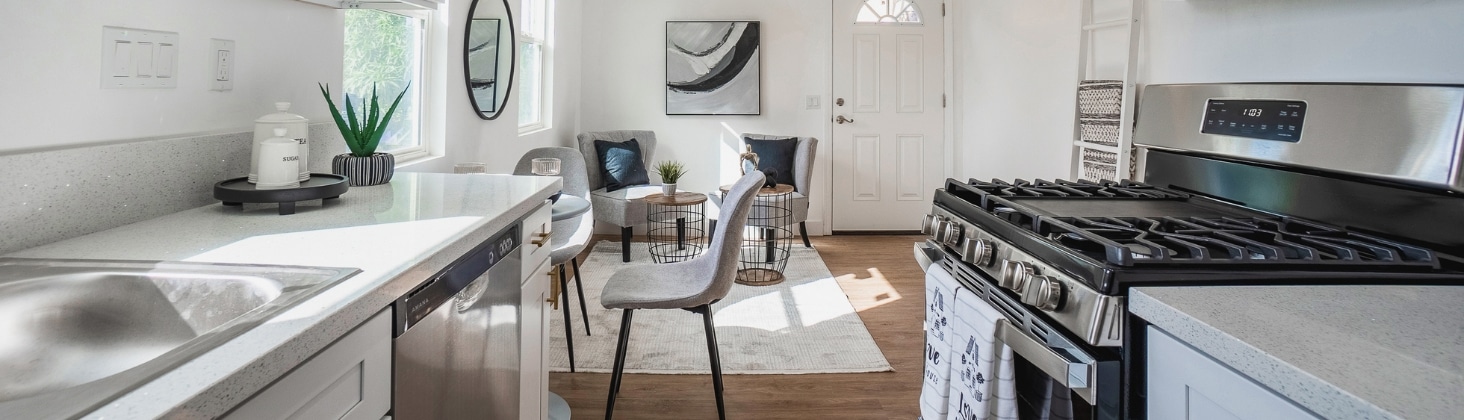
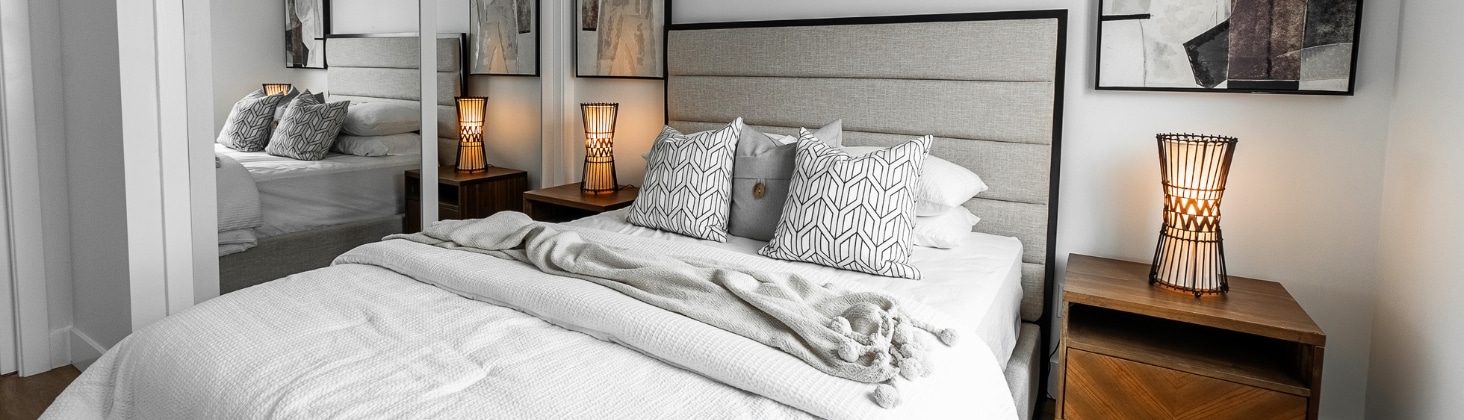
- Finish the Inside
Put in floors, paint, cabinets, and fixtures to make it a nice place to live.
- Check Everything
Have inspectors check to make sure everything is safe and follows the rules. Then, you’re ready to go!
Summary
Embarking on the journey to build an ADU represents a meaningful investment in your home and future. With the potential to enhance your property’s value, provide additional living space, or generate rental income, informed decision-making and meticulous planning cannot be overstated. Leveraging this guide’s insights and comparative analyses equips you to navigate the ADU construction process effectively, ensuring the realization of your project’s full potential.
If you’re looking to build an ADU in San Diego, Better Place Design & Build is your premier choice. Our one-stop-shop approach simplifies the ADU design build process, providing everything you need under one roof to construct your ADU seamlessly and affordably. From initial concept to move-in, our expert team is committed to making your ADU vision a reality. Contact us today to discover how we can transform your property with a custom ADU solution.
FAQs
The timeline for building an ADU can vary depending on factors such as the size and complexity of the project, local permitting processes, and site conditions. However, with Better Place Design & Build’s expertise and efficient project management, you can typically expect construction to take between twelve to eighteen months from design approval to completion.
The initial steps typically include a consultation with our team to discuss your vision, budget, and any specific requirements. We’ll assess the feasibility of the project, discuss zoning regulations and permits, and provide design recommendations tailored to your needs.
Begin by understanding local zoning and building regulations, deciding on the type of ADU you want (detached, attached, or garage conversion), and setting a realistic budget for the entire project.
The timeline can vary, but typically it ranges from 12 to 18 months from the initial planning phase to the final construction and inspection stages.
The process generally includes submitting detailed construction plans, undergoing several rounds of review by local planning departments, and addressing any required revisions to secure the necessary building permits.
Key costly components often include site preparation and foundation work, high-quality building materials, major utility upgrades, and professional fees for architects and contractors.
Hire experienced professionals such as architects and contractors who specialize in ADUs and are familiar with local regulations. Carefully plan and review all designs and constructions to adhere to all applicable standards.
Focus on efficient layouts with open floor plans, built-in storage solutions, and multi-functional spaces that cater to both aesthetics and functionality.
Explore options such as home equity loans, personal loans, or local government grants and incentives designed to encourage ADU development.
Look for contractors with ADU experience, a good track record, valid licensing, and positive reviews. Ensure they communicate well and offer transparent pricing.
Address any feedback from the building department, make necessary revisions to the plans, and resubmit. It’s common to go through multiple revisions before gaining approval.
After completing construction, schedule a final inspection with your local building department to ensure compliance with all regulations. Once approved, the department will issue a Certificate of Occupancy, confirming the ADU is safe and ready for habitation.

Get more stories from us in your inbox.
More Resources
-

Tips
Types of ADUs
Understanding the types of ADUs is crucial for creating a guest sanctuary or entering the rental market.
-
Tips
ADU Benefits
-
Tips
Understanding Assembly Bill 1033
ADUs are booming in California, boosting home value. AB 1033 introduces key changes to know.
-
Tips
ADU Cost Guide
Understanding the factors influencing ADU costs is crucial for effective planning and budgeting.
-
Tips
Rent Your ADU
Understanding how to build an ADU or convert a garage ensures effective renting.